This look was inspired by xsparkage's video on youtube. I absolutely loved the look and did my own spin on it. And I love the way it turned out. It reminded me on neon green and purple grapes! So I recreated it this morning before work and got a ton of compliments on it! These pics were taken AFTER work, I was sitting in the car waiting for my mom to get out of a store. So keep in mind I was pretty tired in these pics, and the make up wasn't freshly applied (was applied around 9 a.m. and these pics were taken around 4:30 p.m.). But here ya go:
Here is the link to 120 palette code:
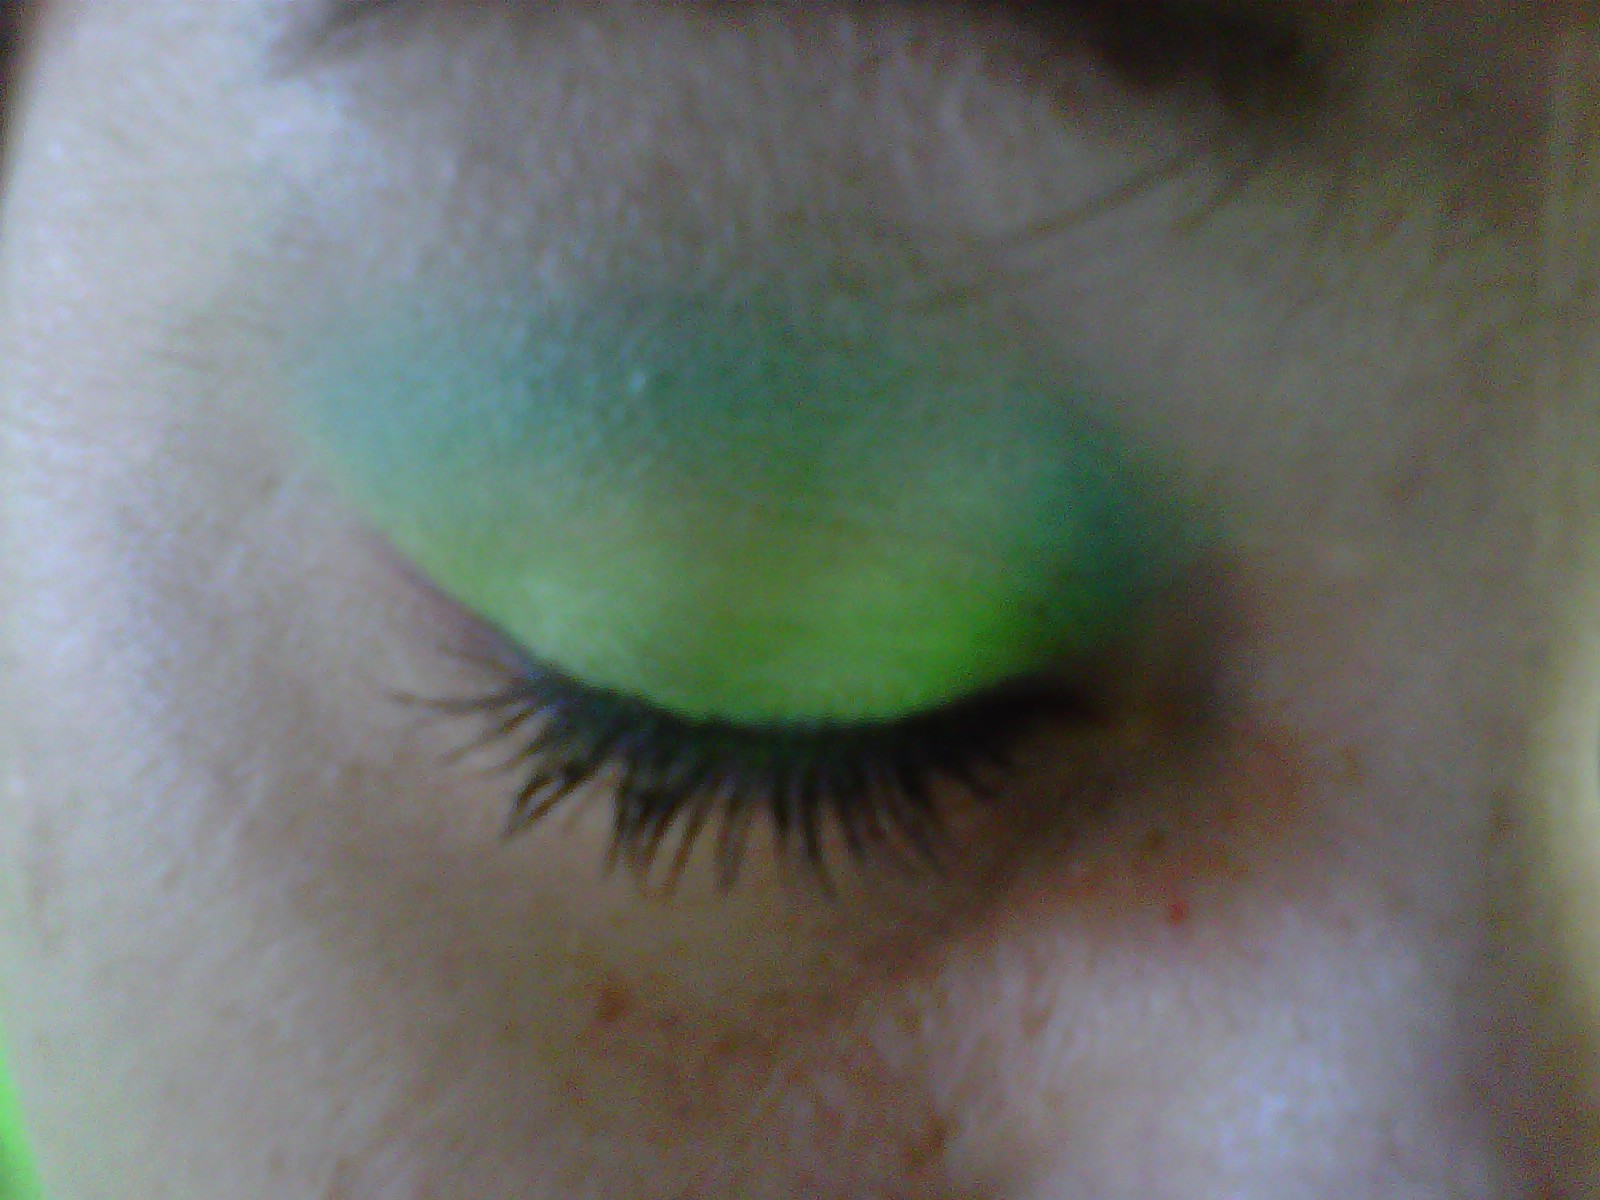
I started of using Urban Decay's Primer Potion all over the lid and under the eye. I then started off applying colors D6 and C9 (a mix) to give it a bright color with just a tiny bit of shine. I packed that on the lid to get the brightness I wanted and made sure it was applied evenly. I then moved on to number F4 which is a bright blue and applied it to the crease, making sure to blend it slightly into the green so I don't have a harsh line. Above that I took L7 and used it as a highlight under the brow bone.I then lined my upper lash line with a pen style liquid liner then on the bottom waterline I used a black gel liner. On the lower lash line I used a bright purple, number J2, I used this wet to create an intense purple liner look. To finish off the eye look I applied mascara and filled in my brows with a matte brown eyeshadow.
To do my face, I started off with my Hard Candy face primer, followed by my Revlon Colorstay foundation. I applied both using my hands. After that I applied blush to the apples of my cheeks swept up towards my temple. I applied I tiny bit of concealer under my eyes and blended with my fingers. To finish off my face I applied my setting powder. It comes with this akward sponge on top, so I just dab it on my face then blend out with a fluffy face brush. And finally I added Elf's lip stain in Fashionista (without the gloss side) and Avon's lipstick in a twinkle pink.
Products Used:
EYES
Urban Decay Primer Potion (original formula)
120 Eye palette (1st Edition)
L'oreal Lineur Intense in Carbon Black #H200 (upper lash line)
Maybelline Gel liner: black (waterline)
Urban Decay's SuperCURL mascara
NYX Champagne and Caviar: darkest matte brown to do my eyebrows
FACE
Hard Candy Face Primer
Foundation: Revlon ColorStay in 150 Buff
Blush: elf's blush and bronzer duo
NYC liquid Concealer in light
Urban Decay's Razor Sharp Ultra-Definition Finishing Powder
LIPS
Elf's Lipstain in Fashionista (without the gloss)
Avon's Ultra Color Rich Lisptick in Twinkle Pink
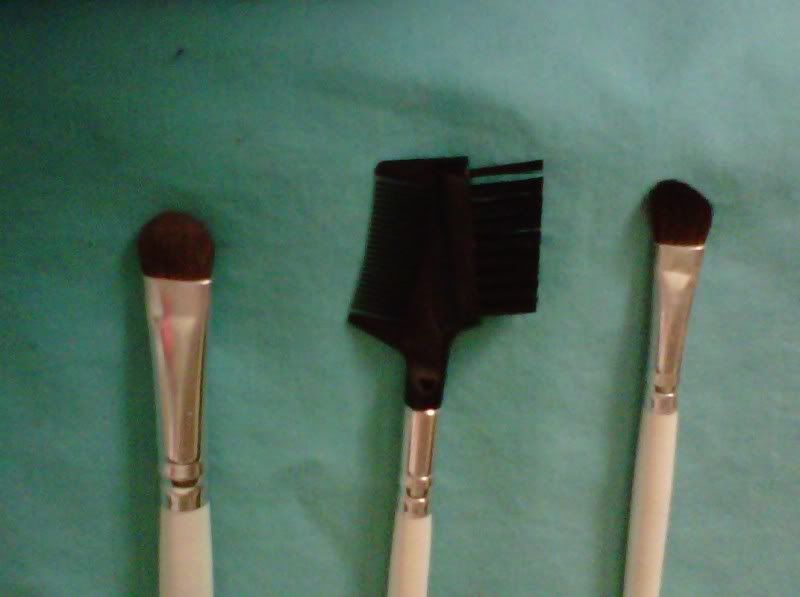
Brushes Used:
Elf essential eyeshadow brush to pack color on everywhere and do light blending
Elf eyeshadow brush (studiol line) brush for the highlight
Elf blending brush (essential line) to blend all the colors seamlessly together.
Elf blush brush (studio line) to apply blush and contour with elfs bronzer
Elf Concealer Brush (essential line) to apply purple liner to lower lash line
Elf concealer brush (essential line) to fill in my eyebrows
Showing posts with label elf brushes. Show all posts
Friday, October 7, 2011
Wednesday, September 14, 2011
Rainbow Bright!
I have a bright colorful look today! I've been wanting something fun and funky to wear before summer comes to an end. I may be brave and attempt to wear this look tomorrow to work. I'll see how I feel about it tomorrow..lol. But in the mean time, here are some pics followed by a description and a list of everything I used.
I started off with Elf's Eyelid primer. I applied that to my lid and all the way over my eyebrows (helps the powder stay on longer when I fill in my brows). I then started on my lid colors. I grabbed the lightest green shimmer on my Physician's Formula Palette (Pop Green eyes). and applied it to the inner 3rd of my eyelid. I then grabbed my pink eyeshadow from the Island Sunset Duo from NYC and placed it on the middle third of my eyelid. On the Outer 3rd of my eyelid, I used Urban Decay's Electric matte eyeshadow. I blended each color into the next and continued building to get the desired effect and brightness that I wanted. I then went to work on my crease color. I grabbed a mix of the 2 purples in the Physician's formula palette. They aren't the greatest purples and they come off looking a bid dark and muddy on my eyes so I grabbed the lightest color at the top (a white with green duo chrome) and applied a tiny bit over the purple to tone it down a bit and it actually takes away from the muddiness a bit. Although sadly, I wish I had a nice matte purple that wasn't crappy. All of my purples either look muddy (I think they're too red) or they aren't pigmented enough for my liking *boo*. But enough of the mini rant, I then grabbed the lightest color again and added it under my brow for a nice highlight. After that I grabbed a bit of the 3 original lid colors and placed them on my lower lash line, in the same order as they were on the lid, so green under green, pink under pink, and blue under blue. Finally I added some black eyeliner to my water line and some mascara to the lashes to complete my eye look.
Because I was being lazy yesterday, I only added a bit of translucent powder to my face, filled in my brows and threw on some lipstick and gloss to my lips. I didn't bother with foundation or blush at all.
Products Used:
EYES
Elf's eyelid primer (nude)
Eyeshadow: Physicians Formula Shimmer Strips Custom Eye Enhancing Shadow (for green eyes)
NYC duo shadow, Island Sunset #811B
Urban Decay: Electric eyeshadow matte
Mascara: Avon SuperFULL in Black #S21
eyebrows: NYX Champagne and Caviar brown color (3rd from color bottom row)
FACE
NYC Smooth Skin Pressed Face Powder: Translucent #701A
LIPS
Lipstick: NYC Ultra moist Lipwear in Blossom #316
Kiss Gloss NYC: Park Ave Punch #532
Brushes Used:
Elf Concealer Brush(studio line) to pack color onto the lid
Elf Crease Brush (studio line)to apply color to the the crease
Elf eyeshadow (essential line) brush for the highlight
Elf blending brush (essential line) to blend all the colors seamlessly together.
Elf concealer brush (essential line) to fill in my eyebrows
Sunday, September 11, 2011
blueberry frosting!
Got a new look for you today, it's called Blueberry Frosting! Its a beautiful frosty light blue on the lid and a darker teal blue in the crease, and a white with green duo chrome as a highlight. I used the Physician's Formula palette for the "green eyes" for this tutorial today. So here's all the complete pics and what I did and used:
I started off with Elf's eyelid primer potion (I save my Urban Decay for when I'm going out). I then used my my Elf concealer brush from the studio line to pack the lightest blue color (4th one down) onto the lid. I then took a crease brush and applied the darker teal color (under the light blue, 5th color down) into the crease. I had to keep adding more to the color to get the desired color payoff and just continued to blend. I made sure the lid color and the crease color blended nicely together . I then added the white (with green duo chrome) from the top of the palette as my highlight color on my brow bone. I then took a dark brown eyeshadow color from my NYX (champagne and Caviar) palette, and filled in my brows. Next, I applied black eyeliner to my waterline and 1 coat of black mascara to my upper lashes only (anything on the lower lashes smudges almost immediately). To finish off the eyes, I took the lightest color from the Physicians formula (top color) and applied it to the inner corner/tear duct area of my eyes.
I then applied my foundation using my fingers, making sure to get nice even coverage. Finally I took my blush/bronzer duo and contoured my cheeks and applied blush to the apples and swept it up to my temples. My last step was to apply my lipstick.
Products Used:
EYES
Elf's eyelid primer (nude)
Eyeshadow: Physicians Formula Shimmer Strips Custom Eye Enhancing Shadow (for green eyes)
Eyeliner: Avon glimmersitck in Blackest Night #G04
Mascara: Avon SuperFULL in Black #S21
FACE
Foundation: Revlon ColorStay in 150 Buff
Blush: elf's blush and bronzer duo
eyebrows: NYX Champagne and Caviar brown color (3rd from color bottom row)
LIPS
Lipstick: NYC Ultra moist Lipwear in Blossom #316
Brushes Used:
Elf Concealer Brush(studio line) to pack color onto the lid
Elf Crease Brush (studio line)to apply color to the the crease
Elf eyeshadow (essential line) brush for the highlight
Elf blending brush (essential line) to blend all the colors seamlessly together.
Elf blush brush (studio line) to apply blush and contour with elfs bronzer
Elf concealer brush (essential line) to fill in my eyebrows
Elf's Concealer brush (essential line--I have 2 of these) to apply color to my inner tear duct
Saturday, September 10, 2011
Holy Haul! It's E.L.F. brushes!
![]() |
L-R: Blush Brush, Concealer Brush(studio line), Concealer Brush (essential line), Eyeshadow "C" brush, Contour Eye brush, smudge brush (essential line) |
They came packaged in their own individual plastic case and the blush brush had it's own little cover on it:
![]() |
Blush brush with plastic cover |
![]() |
Without plastic cover |
This is a very soft, round brush. It's not too densely packed and seems as though it would be perfectly packed for a nice even application of blush to the apples of the cheeks. Would more then likely be very useful for contouring as well. It has a slightly pointed tip for a more precise application but fluffy enough to blend the color out.
![]() |
Eyeshadow "C" Brush |
This brush is also incredibly soft. Surprisingly it's not as densely packed as the same brush from the essential line. I still think it will work nicely to pack on color to the lid as well as smudge colors in the crease. It has a nice "C" shape at the top and seems to be firm enough to get the job done.
![]() |
Contour brush (for the eye) |
![]() |
Concealer Brush (studio line) |
![]() |
smudge brush |
This is the only brush that I have a duplicate of. I had received it with my brush set from the essential line. It's supposed to be a concealer brush but it is WAY too tiny for that unless you're only covering a tiny little blemish. BUT I found it to be very useful for filling in my eyebrows. I bought a duplicate to do tiny work work on the eyes. the corners of my lids are kind of hard to get into as well as for the work on the tear duct. Any small area that is difficult to get into with a regular brush. But this way I can use one just for my eyebrows and one for other eye work. Its very stiff and rounded at the top. I found the individual one to not be quite as stiff as the one from the full set
As I said, I haven't really used any of these brushes (other the the essential line concealer brush), so I don't have any information on how well they work for application. But I thought I would give a haul and description of each brush in case anyone is interested.
Saturday, September 3, 2011
pink limeade smoothie tutorial!
I have another new look for you all today. It's called Pink Limeade Smoothie. I did the entire look using the Physician's Formula Shimmer collection for "green eyes", that I reviewed in my last post. I got a lot of compliments on this look. Even one from my boss at work, she said, " I didn't notice before, but your eyeshadow looks nice! It really brings out the color of your eyes!". One of my customer's said, "Not too many people can pull of those colors, it looks amazing on you!" So I'm quite happy with the look and I hope you guys give it a try! Also I want to add, I did this make up look at 9 this morning, and I didn't take these pictures til around 6 p.m. So with Urban Decay's primer potion underneath, these shadows last amazingly well, and it was 92 degrees here today!
Thursday, August 11, 2011
pink and black eyemake up look

So I decided to mess around a little bit and create a fun look. I'm not sure where I would wear this look, but I do love it! Again, I apologize for the crappy camera. My birthday is at the end of october and I'm really hoping SOMEONE will buy me a nice digital camera..lol. But here are some pics first, then I will explain what I did and what products I used (at the very bottom):
Wednesday, August 10, 2011
E.L.F brushes and Eyelash Curler

I've decided to start my long list of product reviews with my E.L.F order. I'm splitting it up into 2 categories so that you can get a good review on all the products and its not one HUGE review. The first review is gonna be for my elf brushes. I ordered the set of 12 brushes from the essential line (which is the 1 dollar line). I've been using them since I received them in the mail last month. Now I must admit, I am a newbie makeup junkie and these are my first brushes that I've used, therefore I have nothing to compare them to >.< . But even at that, there are a few that I just did NOT like, and some that I actually really do like (as a beginner anyway). So before I start rambling, I'm just gonna jump right into it. I grouped my brushes into groups of 3 and I will be reviewing each group following the picture.
Labels:
e.l.f. cosmetics,
elf brushes,
make up brushes
Subscribe to:
Posts (Atom)